Configuring iVeri as a Payment Method
Payment Method Configuration – Back End Interface
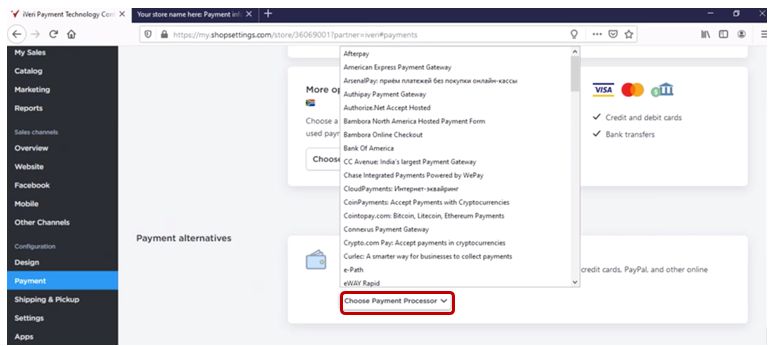
1.User to use the left adjusted Menu Items, navigate to Payments – To set up your payment provider.
Select iVeri as a Payment Processor.
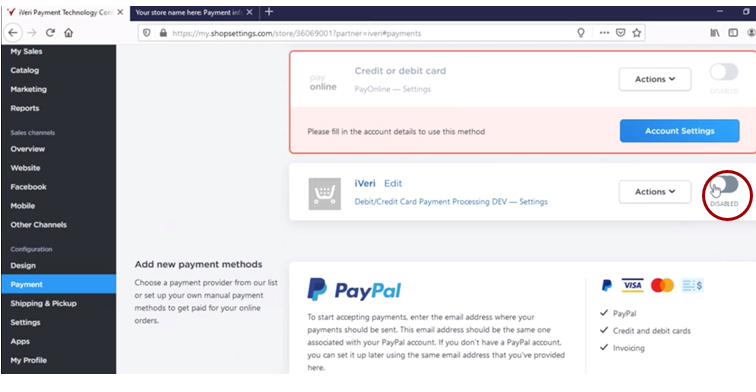
This is done so that iVeri becomes the payment provider.
The radio button will be on the disabled state until the merchant sign’s in.
Scroll up and enable iVeri as the payment process here as well.
Select the Enable radio button to allow iVeri as the payment provider
1. Turn the Radio button on.
Select Actions then Edit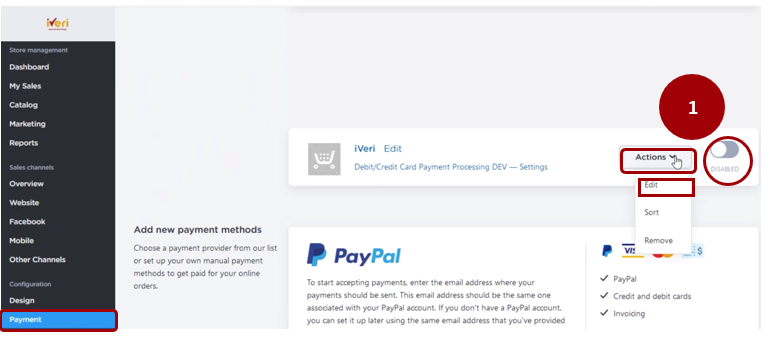
2. The system will update the page.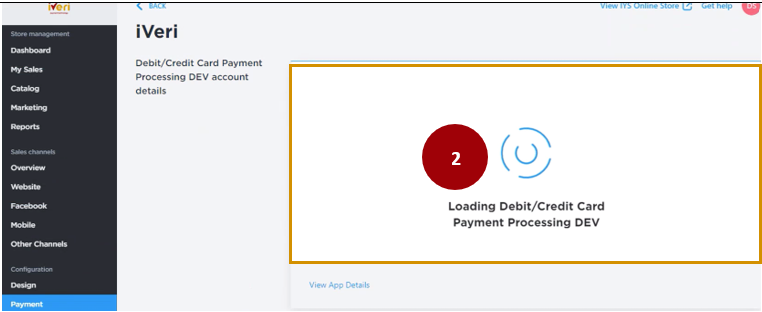
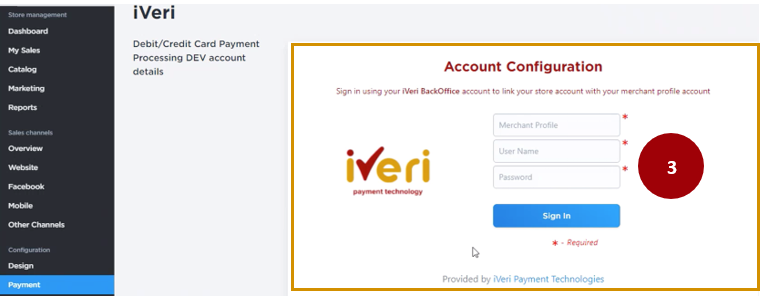
3.Insert your iVeri Provided store credentials.
These are the merchants BackOffice account details that you would have already received.
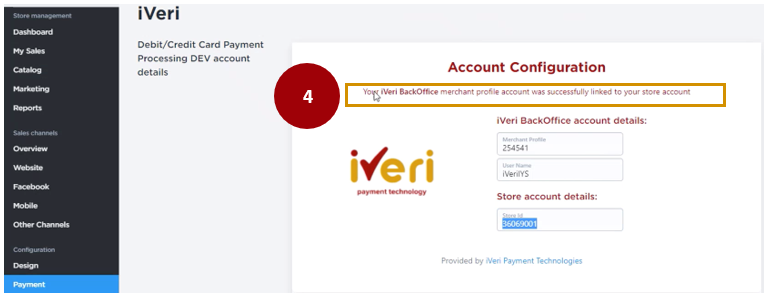
4.This screen indicates a successful log in and link of the merchants’ store Profile with their iVeri merchant Profile.
Scroll down and update the “Payment method name at Checkout”
Select Enabled
“Set payment instructions at checkout”
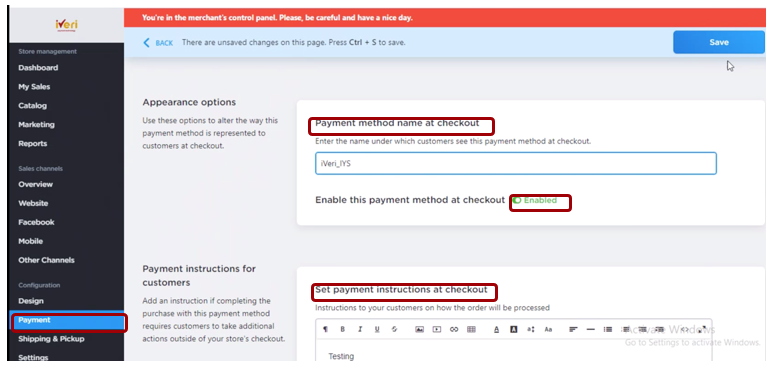
Please Note!
This is what the cardholder will see at Check Out, so this is very important for the merchant to set up on their Back end as indicated above.
Note: This should read as iVeri Payment - Debit and Credit
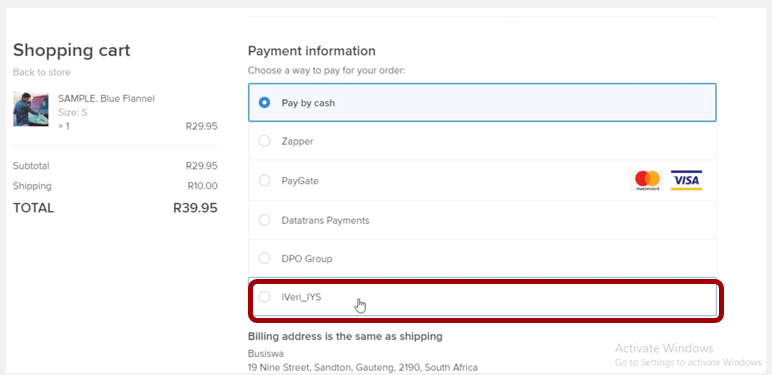
Example of how it will look at Checkout for the client making a payment:
5.Once the Linking of the merchant iVeri Profile is completed successfully, the Payment provider will then be enabled as indicated.

Please Note!
Before the merchant is signed up for ECWID (IYS) they would have initially agreed to have iVeri as the payment provider and also wanted to use the App for the online Store and iVeri would have gone into an agreement with the merchant
The merchant needs to download the iVeri App and set up their profile and as soon as they have onboarded, they can then utilise their online store with iVeri being their payment service provider.