Introduction
The Mauritius Central Automated Switch (MauCAS), a digital hub exclusively owned and managed by the Bank of Mauritius, facilitating seamless 24/7 payment routing among various operators. CIM Finance is introducing QR-code-based payments through seamless integration with MauCAS, thereby diversifying the payment options for their valued merchants.
Objectives
This guide is crafted to empower you with the knowledge and skills essential for enabling MauCAS for a merchant using iVeri’s Administration Website. Through detailed screen representations, it elucidates the step-by-step process by which a Merchant can select MauCAS QR as the preferred payment method during transaction processing.
Assumptions
This guide is dedicated to the explicit process of activating MauCAS for a merchant through iVeri's Administration Website. It assumes that the user performing the MauCAS activation for the merchant possesses prior knowledge of the take-on process (onboarding process).
Which iVeri solution is MauCAS applicable to?
- PosPort
Note: The device utilized for MauCAS QR is the NewPOS 6210 & 7210.
Mobile Applications that support MauCAS QR
Below is a list of mobile applications that support the scanning of MauCAS QR code:
- MyT by Mauritius Telecom
- Blink by Emtel
- POP by Bank One
- Juice by MCB
- WithMe by Maubank
- MoFinans by Cim (Not yet launched)
*The listed mobile applications above may update. It is therefore imperative that merchants refer to their Acquirer in Mauritius for the update list.
Enabling MauCAS on the Administration Website
Below we will look at the step-by-step process of enabling a merchant for MauCAS via the Administration Website.
Navigation Path:
To navigate to this screen,
Select Applications > Update > Provider Specific.
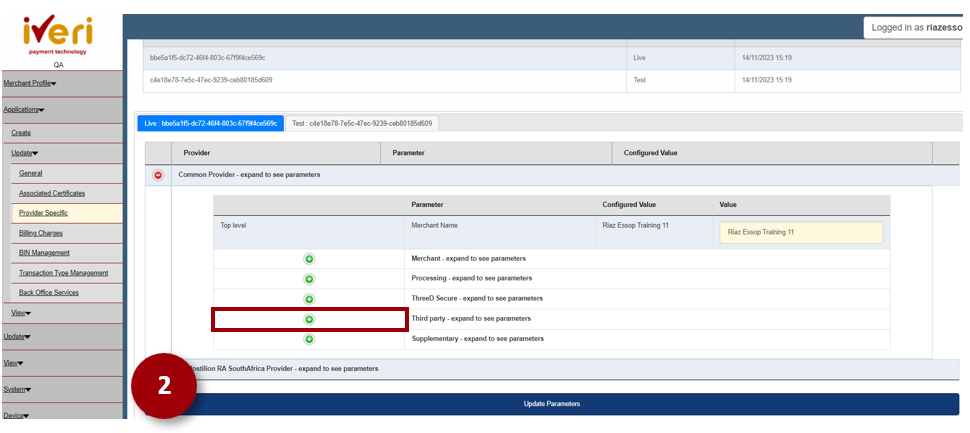
1. Click on the ‘Common Provider’ expansion tab.
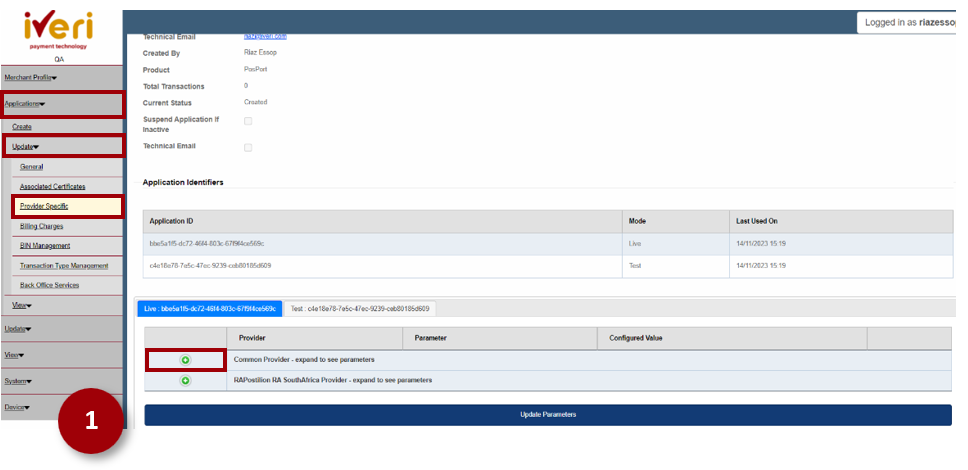
2. Navigate to the ‘Third Party’ parameter and click on the expansion tab.
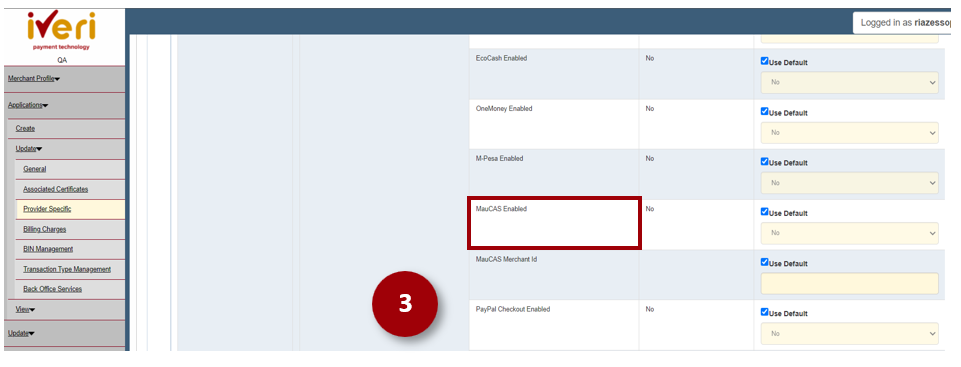
3. Navigate to the ‘MauCAS enabled’ parameter. This parameter defaults to ‘No’.
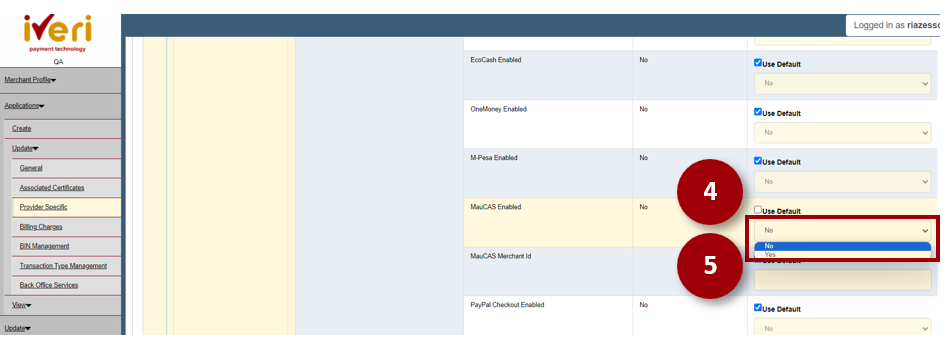
4. To enable MauCAS, untick the default value.
5. From the dropdown, select ‘Yes’.
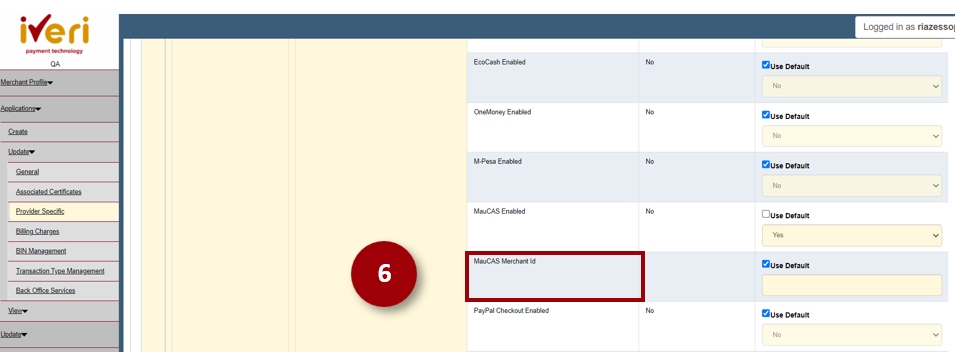
6. The next parameter that needs to be populated is the ‘MauCAS Merchant ID’. This parameter needs to be populated with the Merchant ID.
The Merchant ID is provided / supplied by the Acquirer.
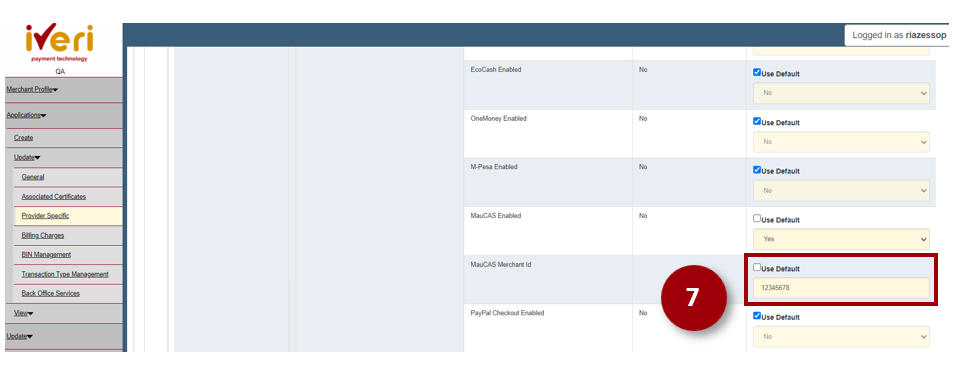
7. Untick the default value and enter the MauCAS Merchant ID.
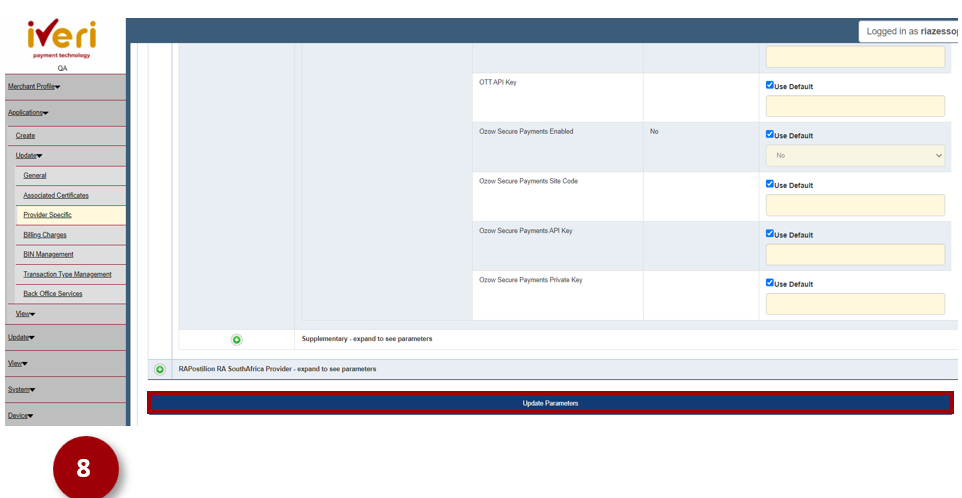
8. Lastly, save the changes that you have captured by ‘Updating Parameters’..
How to select MauCAS QR as the payment method
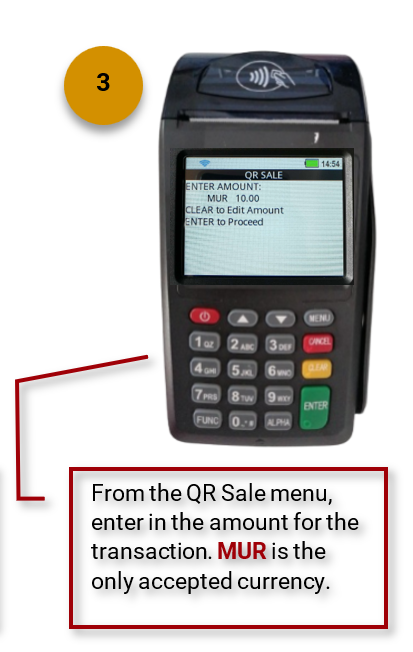
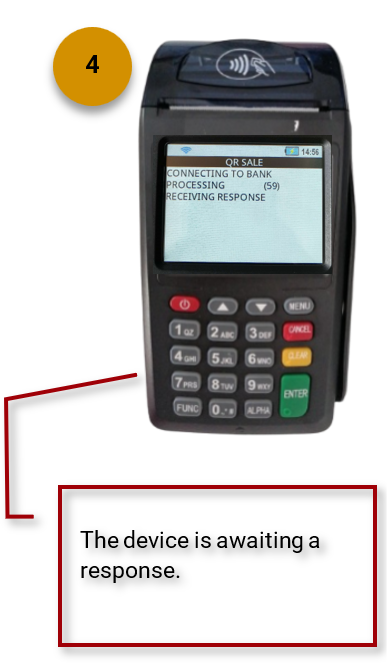
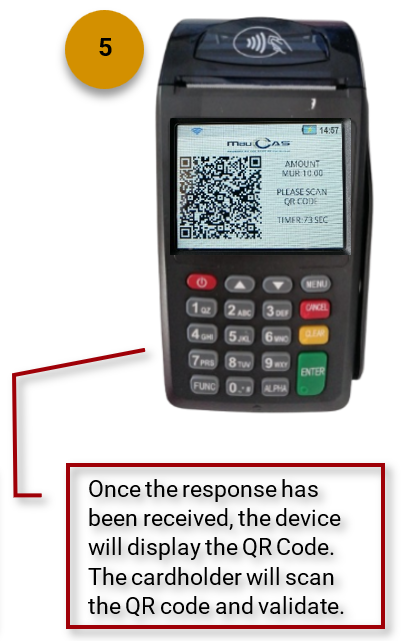
Here are the sequential steps a merchant should follow on the device to designate MauCAS QR as the chosen payment method: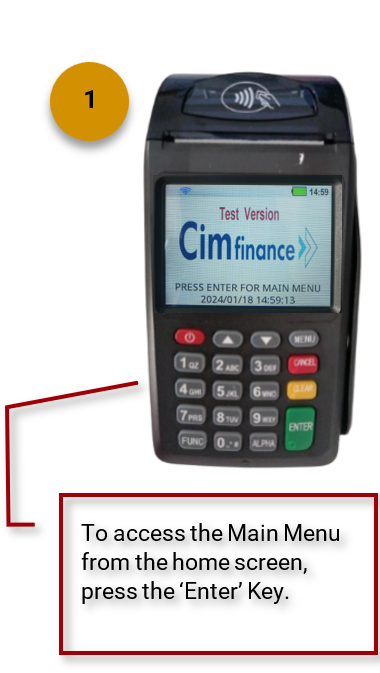

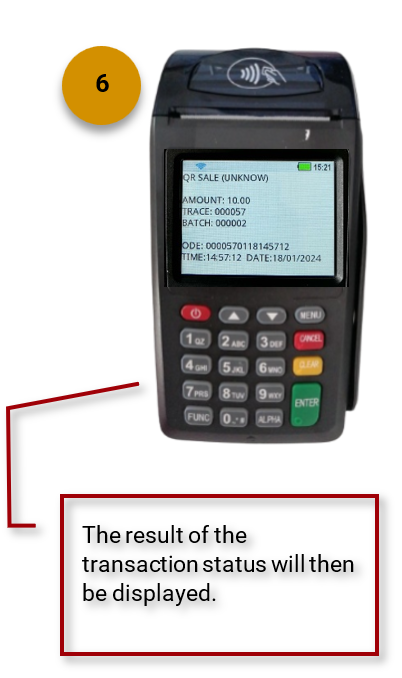
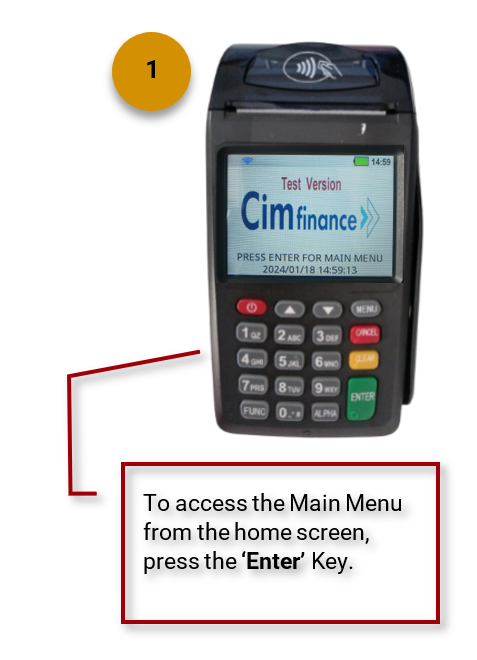
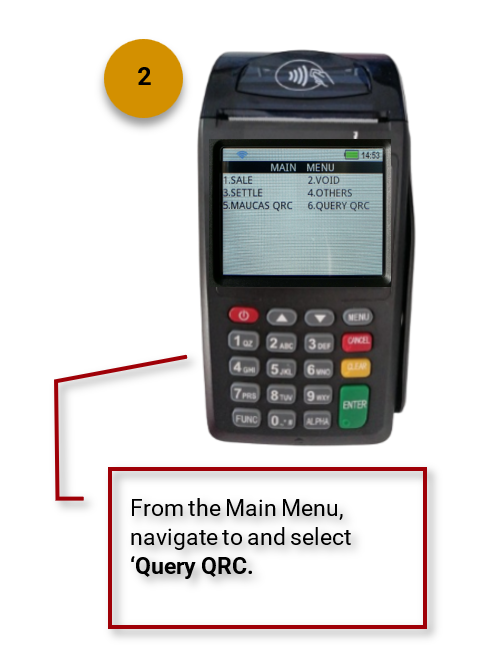
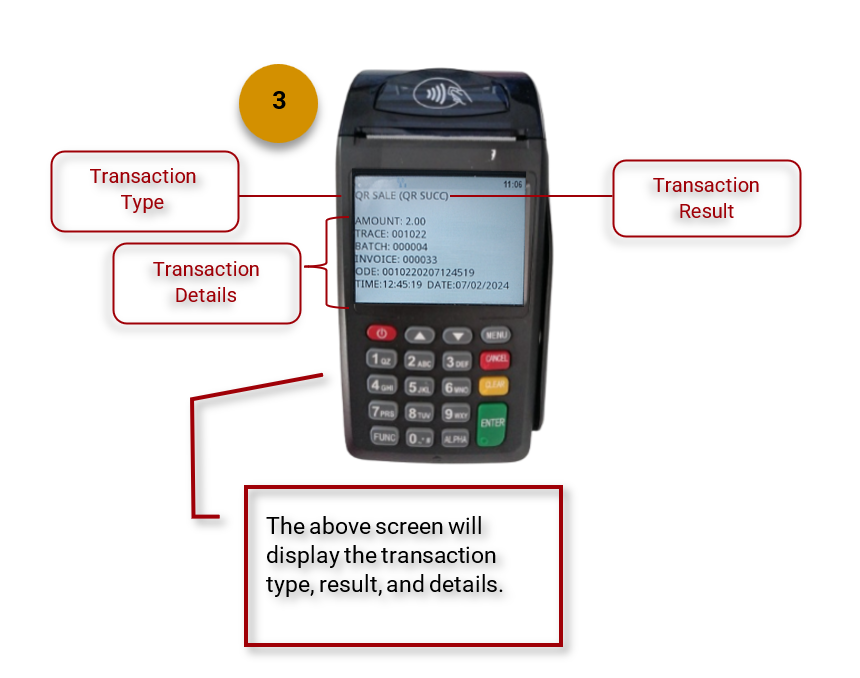
How to view MauCAS QR transaction details
Below we will list the steps on how a merchant can view MauCas QR Transaction information:
Video