Configure Application
Purpose - To receive e-mail confirmations after processing successful transactions and to set-up your transaction viewing preferences, you will now need to set up your choice of transaction configuration.
Action:
On the main menu go to Lite – Configure Application.

Action:
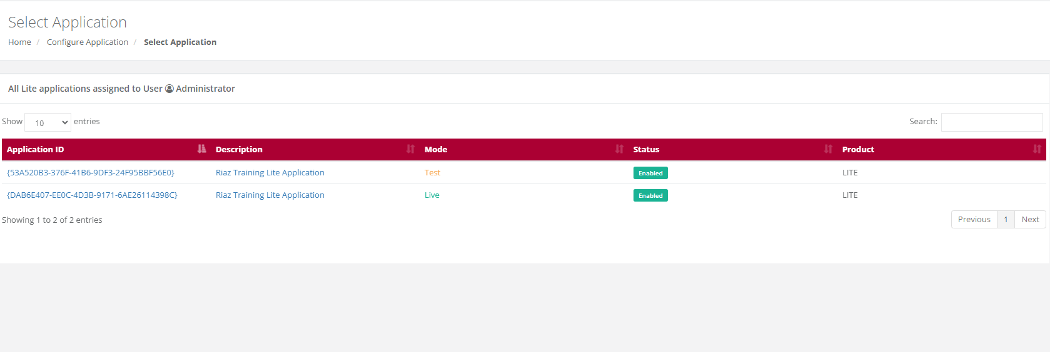
Click on the Application you want to configure, i.e., either the Test or the Live. Make the relevant changes and click on Submit
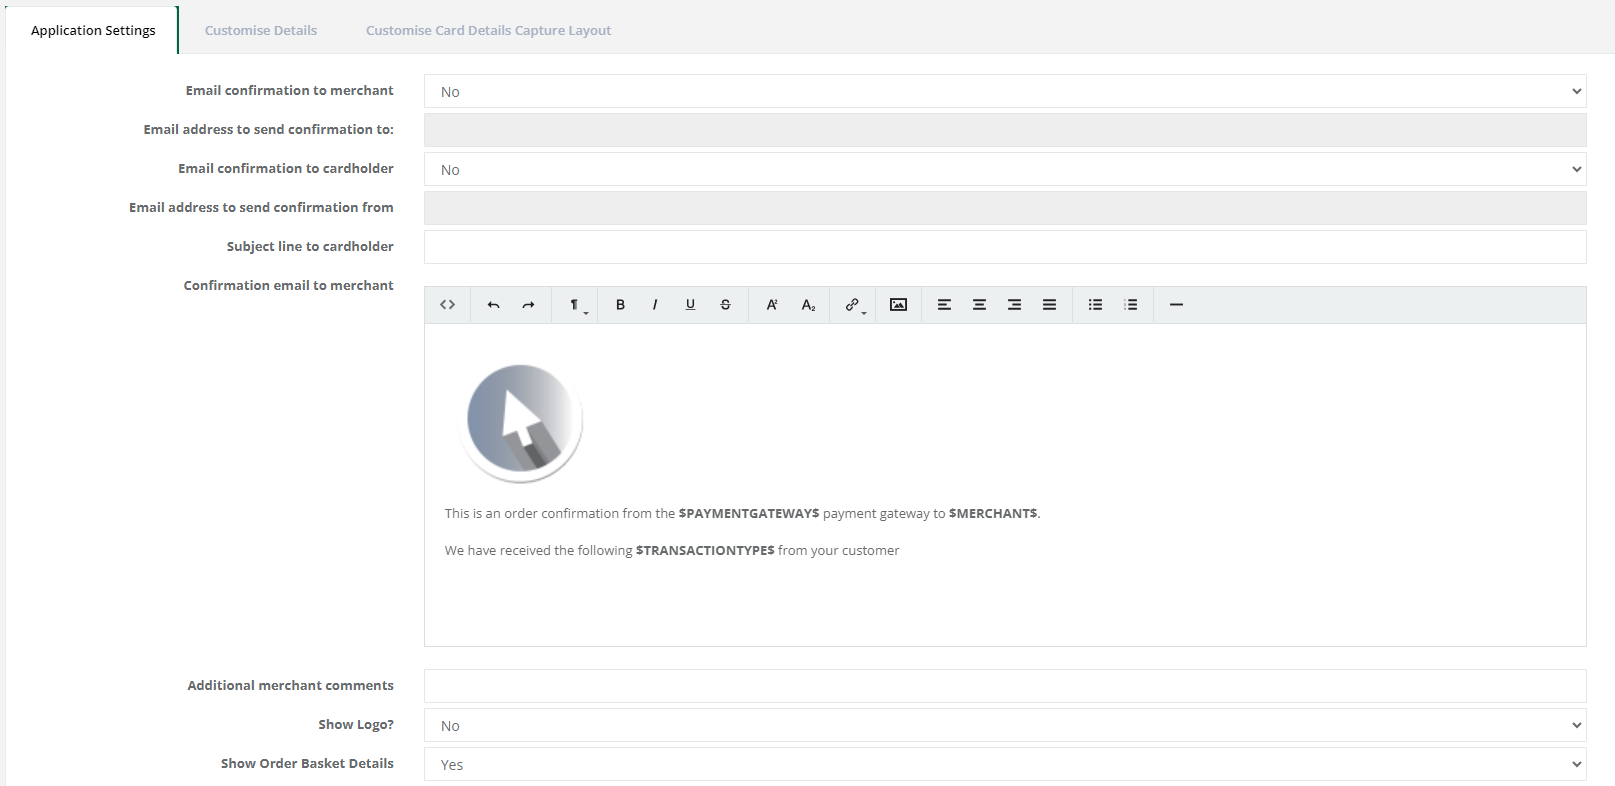
Below are some of the details a user would need to configure under Application settings:
- E-mail confirmations can be sent to a cardholder.
- Confirm the E-mail address confirmations are sent to and from.
- Customise the message on the payment page.
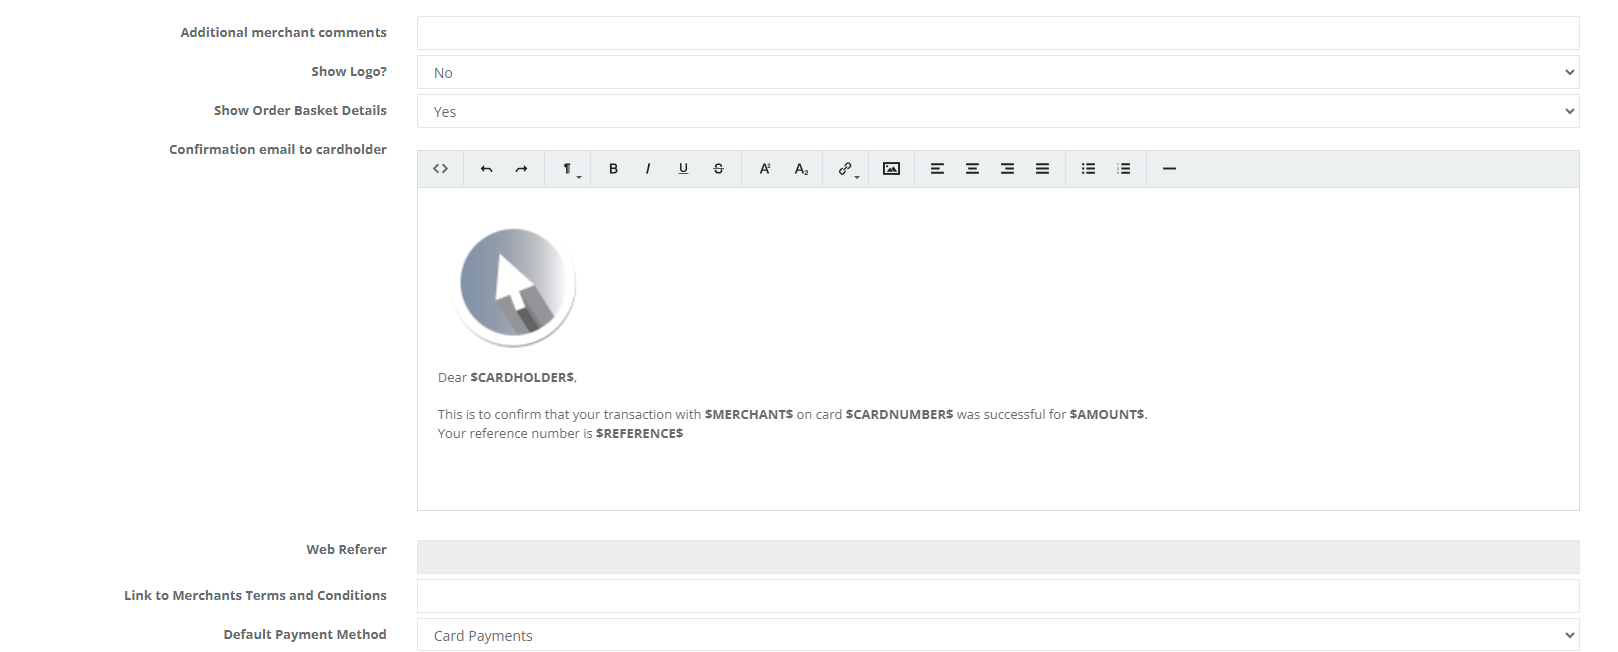
- Customise the message on payment request e-mail.
- Copy or Link Merchants Terms and Conditions
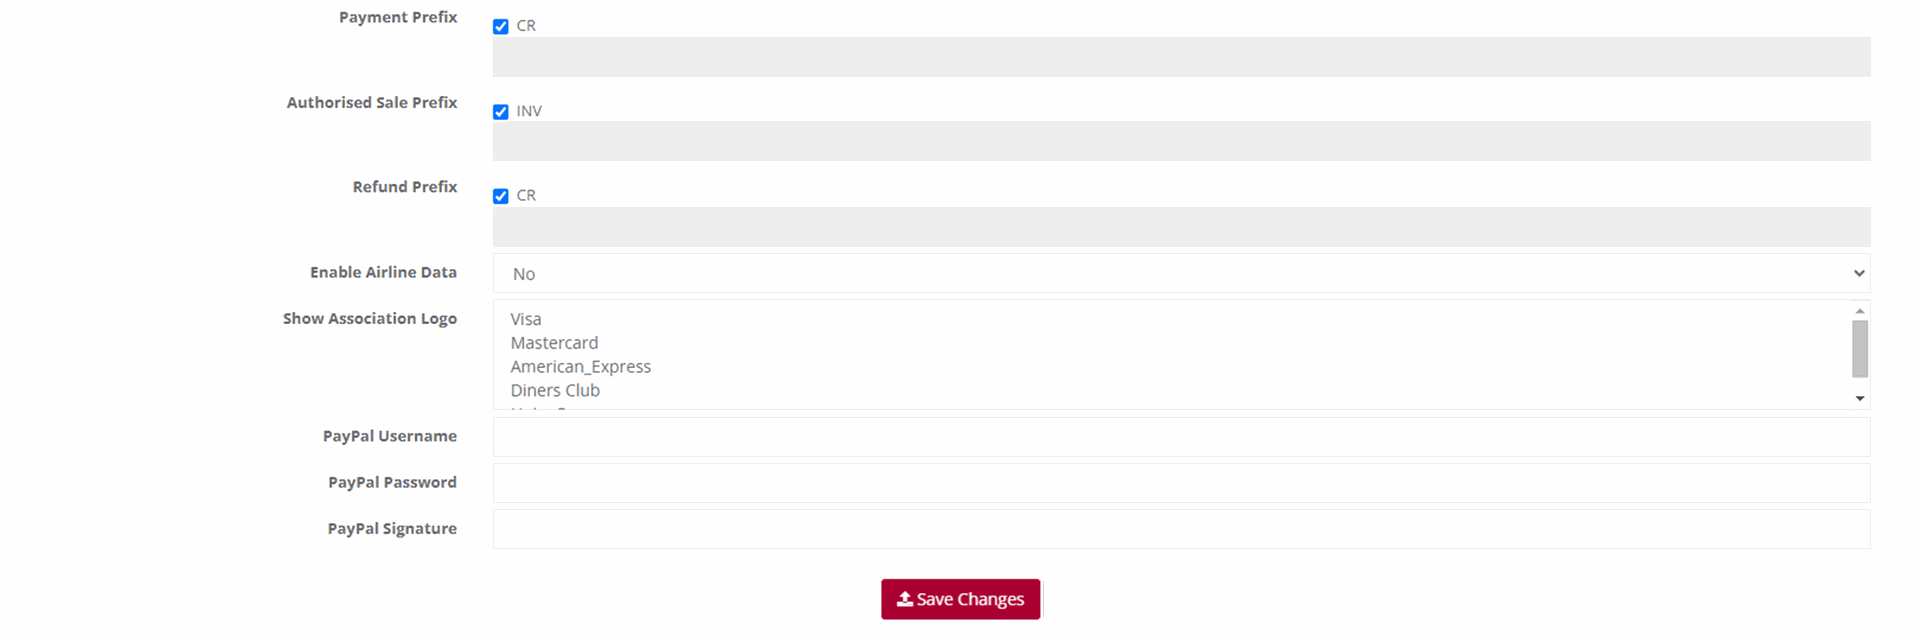
- Show Associated Logos
To make the relevant changes, click on Save Changes.
NOTE:
The Administrator can configure specific user email addresses to receive confirmation emails when payments are made by cardholders. Here’s how:
Send Email Confirmation to the User Who Created the Request: Enable this option to allow the user created by the Administrator to receive transaction confirmation emails.
Send Email Confirmation to a Different Address: Alternatively, enter a different email address in the provided text field to receive transaction confirmation emails.
Send Email Confirmation to the Cardholder: Enter the email address where the cardholder's transaction confirmation emails should be sent.
Customizing Payment Request Messages
Customize the payment request message sent to the cardholder. Ensure not to alter the content between the $ signs.
Preferred Payment Method Selection
Merchants with multiple payment methods can select a default option from the list, such as Visa Checkout, MasterPass, or Card Payments.
Registering for Visa Checkout
To start accepting e-wallet payments via Visa Checkout, follow these steps:
Navigate to the “Transaction Viewing Layout” section.
Click on the “Reset Transaction Viewing Layout” dropdown.
Select “Visa Checkout Management.”
Click the “Submit” button.
A new page will display, where you can fill in the required fields and submit the form.
Important Note:
Merchants must notify their Acquiring Bank to enable Visa Checkout. This step is crucial for the activation process.
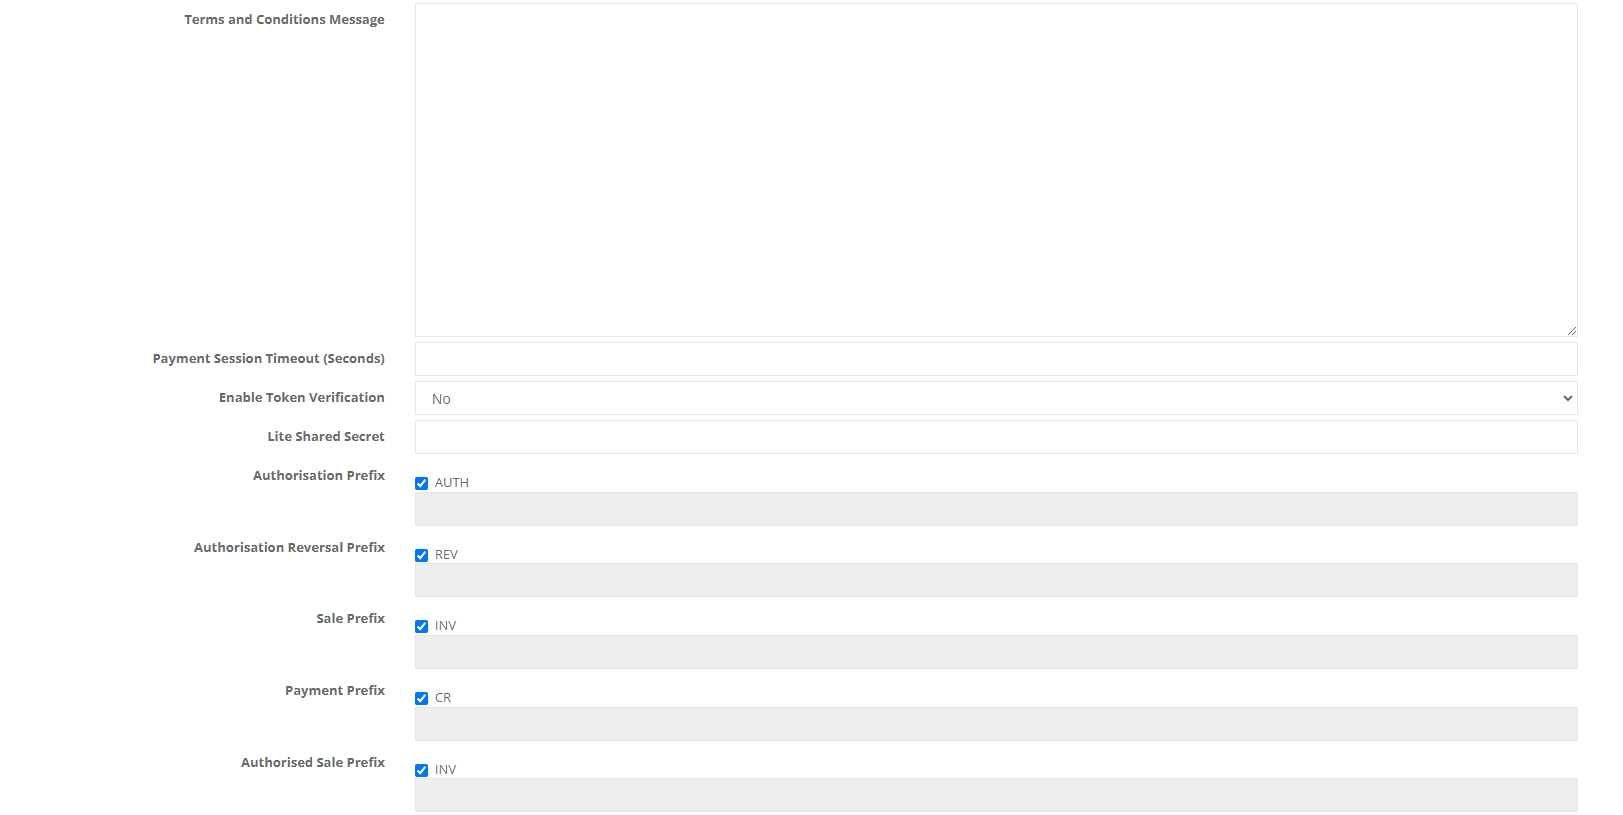
Linking Terms and Conditions:
The merchant can now be able to configure terms and conditions to be set and agreed by the cardholder upon making a payment. This is done by inserting a URL link where the merchants’ terms and conditions are found or type out the Terms and conditions.
